


Pants hack – I love you
Autumn is well and truly here, and the season for cozy evenings is in full swing. To accompany you during these moments of relaxation, nothing beats a pretty pair of pajamas to slip into after a nice hot bath.
Our very first I love You pattern is now available in a 7/8 version with this hack to easily lengthen the shorts.
And if, like us, you love pretty details, we'll show you how to add an openwork lace band to the sides.
Materials needed to make the 7/8 length trousers :
- Patron ensemble I Love you
- 2m of viscose
- Approximately 4m of lace (or 2m if it is sewn in a single width, unlike in the photos)
- 1m of elastic, 3.5cm wide
TRANSFORM THE PATTERN FOR A 7/8 LEG TROUSERS VERSION WITHOUT LACE 
- The modification of the pattern
The modifications for the front and back are identical.
a) Lengthen the side seam until it measures 95cm in total (this measurement is given as a guide for a 7/8 length on a height of 1.60m)
b) Measure the width of the bottom of the thigh in the shorts version. This measurement will be the width of the bottom of the pants. Draw a line perpendicular to the side seam, X cm long (X = width of the bottom of the thigh in the shorts version).
c) Draw a perpendicular line to the bottom of the pants to reach the crotch, then join the crotch point with a smooth curve.
Repeat these operations on both pieces, making sure that the seams that will be joined (sides and crotch) are of equal length.
- Sewing
To make the 7/8 length trousers, you can follow the instructions in the booklet. The only modification concerns the hem seam allowances: make a first fold of 1cm then a second of 2cm (unless you wish to add lace to the bottom of the legs as on the shorts version).
TRANSFORM THE PATTERN TO ADD LACE (SHORT OR 7/8 VERSION)
- The modification of the pattern
In this example, the lace is 2 cm wide. To make it wider, we overlapped the edges of the lace pieces and sewed them together. Our lace is now 4 cm wide with scalloped edges on both sides.
If your lace is not 4 cm wide, you will need to adjust these instructions according to its width. The width of your lace is measured at the center of the scallops.
The modifications for the front and back are identical.
- Draw a line parallel to the side seam, half the width of your lace. Here, our lace is 4cm wide. Therefore, we will draw a line 2cm from the edge of the side seam on both the front and back.
- Next, add the seam allowances: The lace scallops will be flattened on the front and back, so I can use an overlock stitch for a simple finish. My overlock stitch is 7mm, so I add a 7mm seam allowance.
- Sew the lace onto the pants
Follow steps #1 and #2 of the tutorial.
In step 3 (assembling the side seams), pin one side of the lace to the front. Align the scalloped edge with the overlock edge. Sew a straight stitch down the center of the overlock edge along the entire length of the leg. Repeat these steps for the second front piece.
Assemble the front and back pieces right sides together, pinning the free-hanging lace edge to the back. Align the scalloped edge with the overlock stitching and sew down the center of the overlock stitching.
Repeat the same steps for the second side.
You can follow the tutorial to finish your 7/8 length shorts/trousers.

We sincerely hope you'll want to try this hack so you can wear your lovely pajama set all year round.
Feel free to share your creations with the hashtag #lisetailor
You will need...


Read more

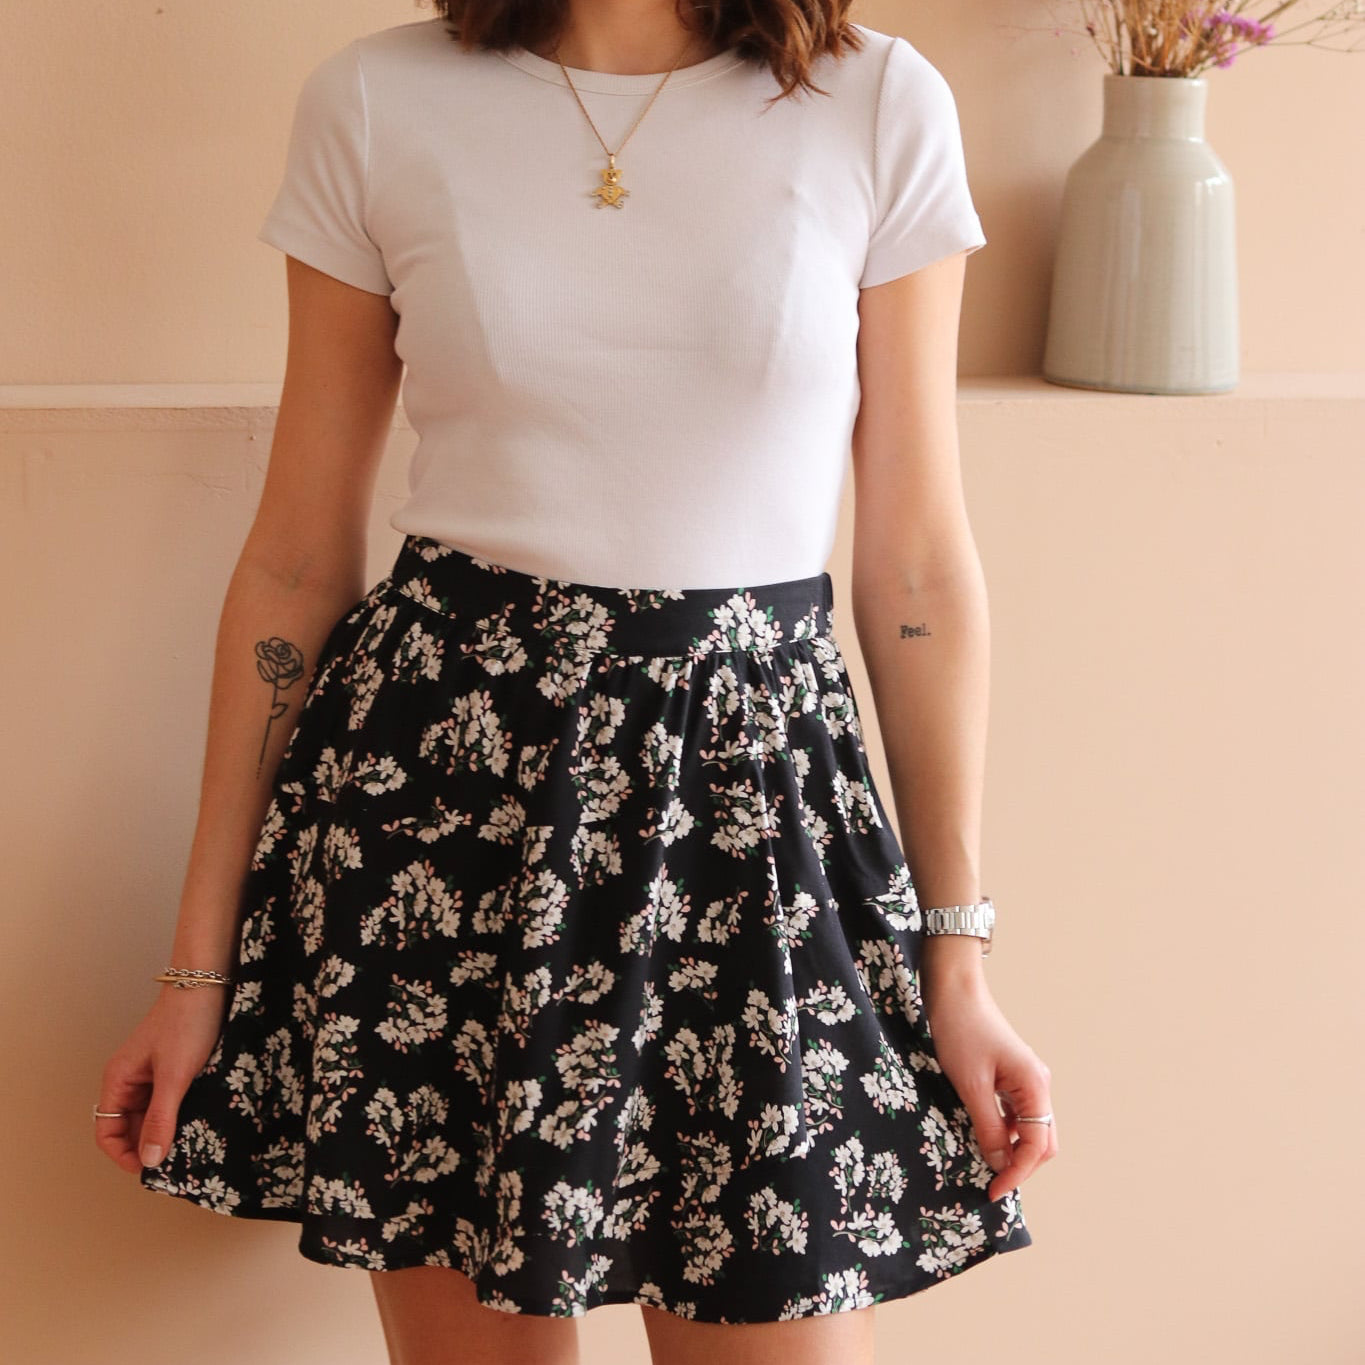
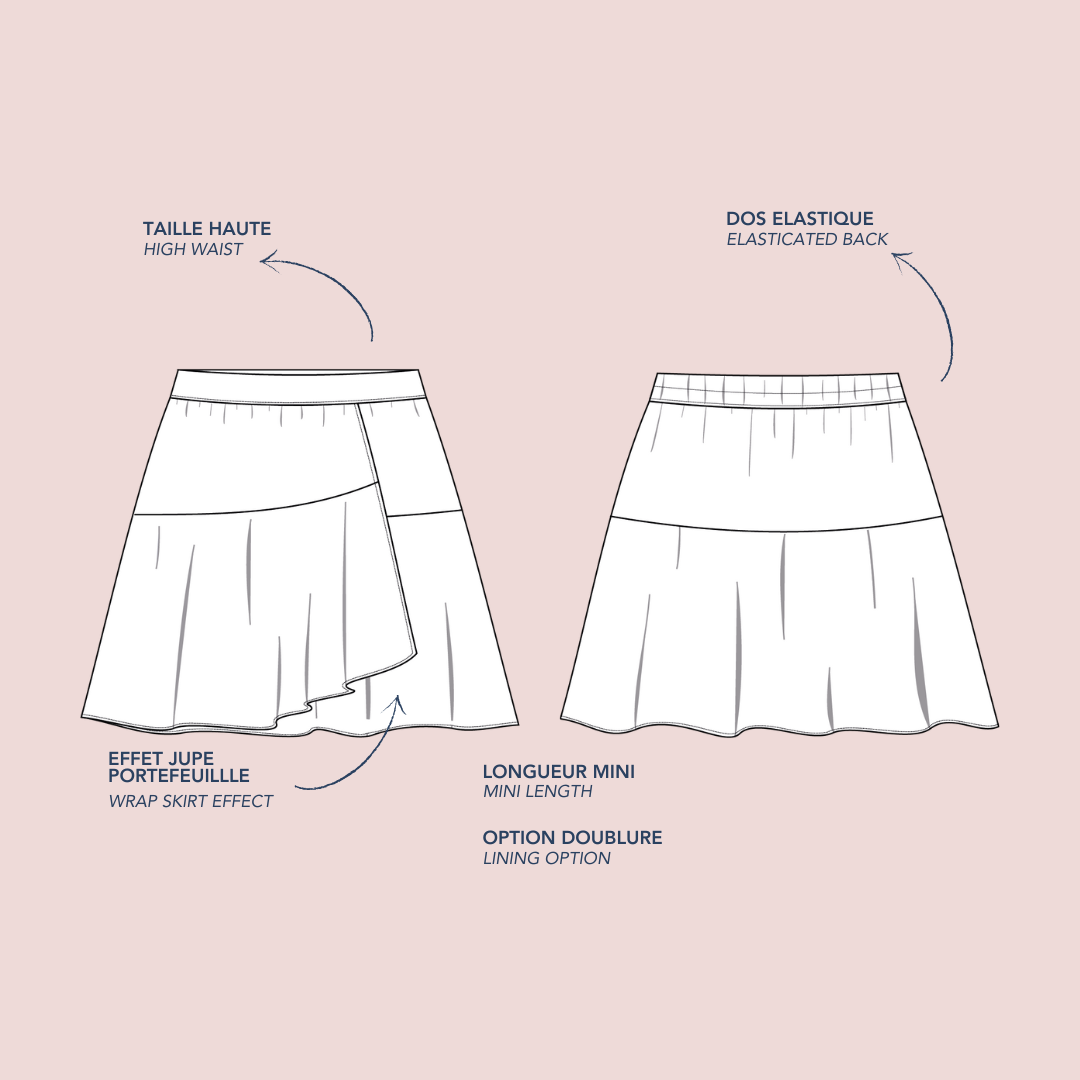
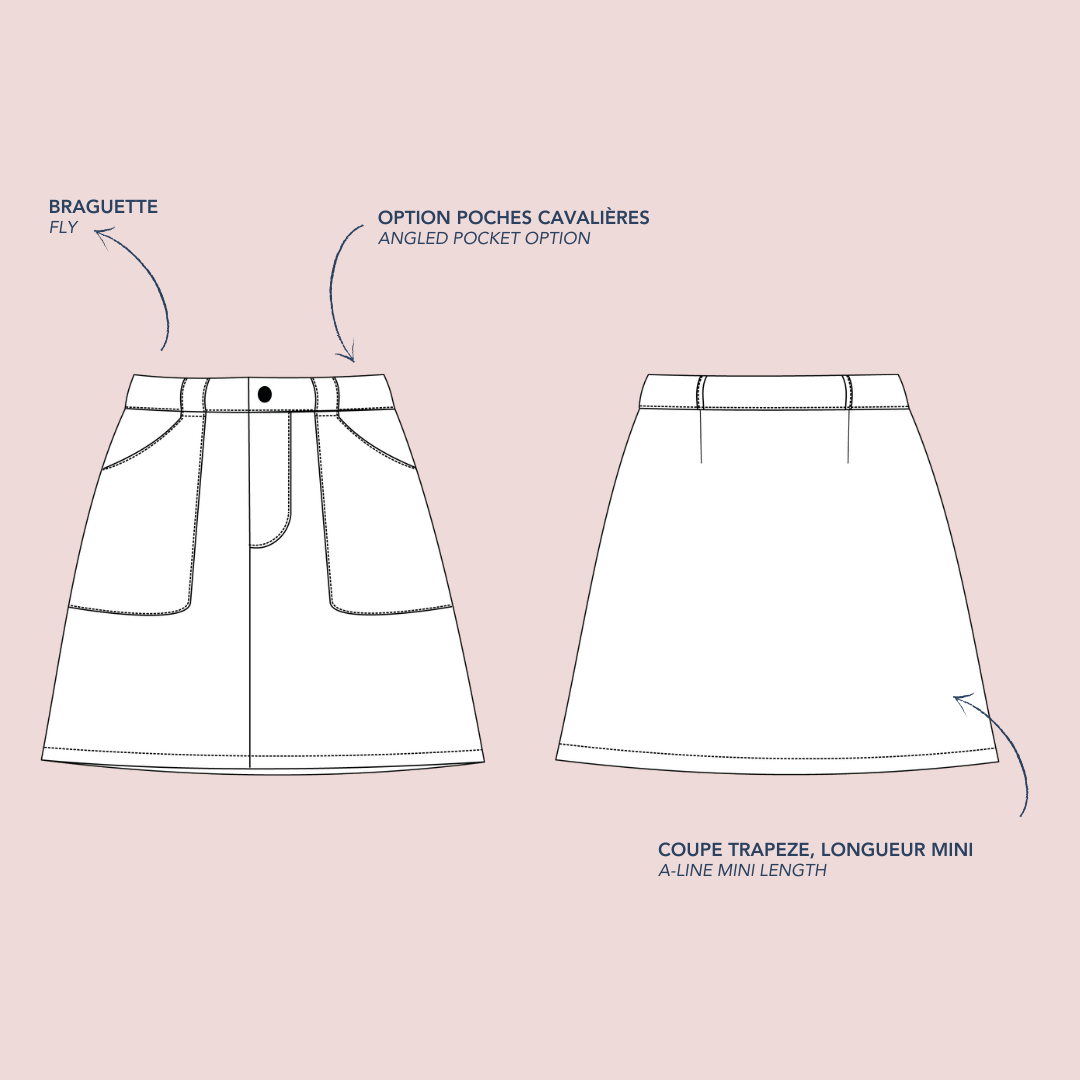
We're hacking the Groovy skirt!
The timeless piece from our autumn collection? The Groovy skirt! It can be made in several materials, plain or patterned, but also transformable into a simpler skirt without pockets o...

Add sleeves to the Gigi dress
We love sewing Gigi for: its box pleats that replace darts and teach us a new technique its 3 neckline options When worn, we love it for its comfort and feminine side. This deliciously retro ...