THE SMOCKED PIECES
For this step, you will need a piece of fabric and the pattern for the front and back yokes.
Here the pattern requires no modification.
- Cut a piece of fabric 2.5 times the width of the yoke pattern.
For example, if your yoke is 35cm wide, you will need a piece of fabric 87.5cm long. This measurement is for one yoke only; you will need to repeat the process for the other yokes (front and back).
We advise you to work coupon by coupon to avoid smocking a very large quantity of fabric at once; the operation will be less tedious.
Smocking your fabric by spacing the smocking lines 1.5cm apart (the smocking tutorial is available on our YouTube channel )
- Once your pieces are ready, trace the outlines of the yokes onto the smocked fabric using the pattern and chalk.
Stitch 5mm from the line towards the inside of the yoke to hold the smocking in place before cutting the edges of the yokes.
Make sure to cut your front yokes symmetrically, and where possible, match your smocking lines.
In this spruceful version, we did not double the panels to avoid bulk.
THE STEERING WHEEL
The length of the ruffle is equal to the width of the front and back tops, plus 6cm wide.

- Fold the strips wrong sides together lengthwise and press the fold with an iron.
Position the front panel on the front piece and pin to hold the layers together. Sew a stay stitch 5mm from the edge.
Once the ruffles are attached to the front and back, you can follow steps 4 and 5 of the tutorial.
Here the ruffle and the upper bodice are gathered all at once.
THE SLEEVES
Making the sleeves requires a slight alteration to the sleeve pattern. Remember to allow for a slightly longer length of fabric, about 10cm.
- Extend the sleeve pattern by 4cm at the bottom of the sleeve by extending the existing lines.
- Overlock the sides and bottom of the sleeve before pressing a 3cm fold with an iron.
- You can then make 4 lines of smocking starting 2cm from the folded edge of the bottom of the sleeve and spacing each line 1cm apart.
- Finally, simply assemble the side seams of the sleeve and attach it to the bodice as shown in the tutorial.
THE PASS
In our version, we chose to make only the collar stand. To do this, follow the instructions in the tutorial to assemble and fold down the collar stand without inserting the collar.

Once all these steps are completed, all you have to do is assemble the elements by following the shirt tutorial.
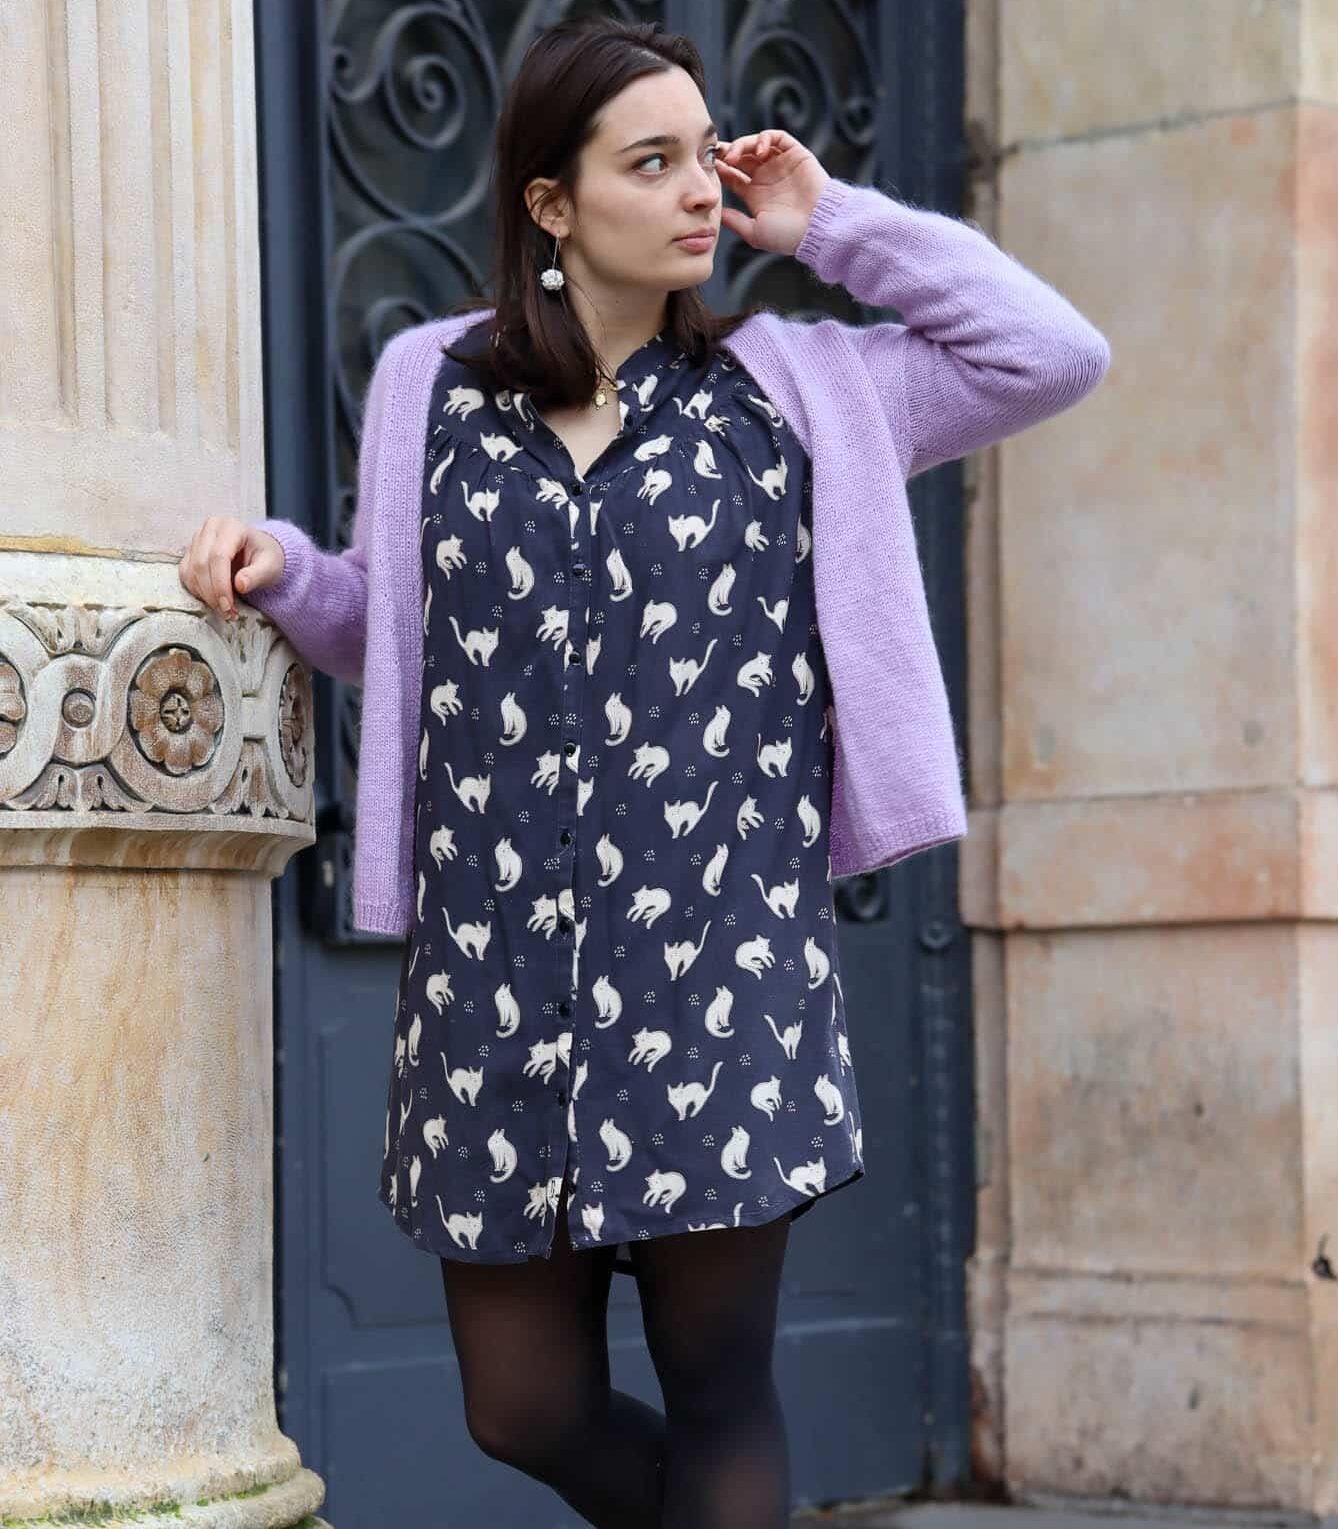
Pimpante is a blouse that allows for many variations. You can play with different fabrics, transform it into a dress, add ruffles… We're curious to see what hacks our blouse will inspire you to create.
And there you have it, you're ready to hack the Pimpante blouse pattern!
Use our tutorials or your imagination to create your own hacks and share your creations with #lisetailor