


Comet Hack Tutorials: The Buttoned Maxi Dress
COMET HACK – A LONG, BUTTONED VERSION
We know what you're thinking behind your screen: another Comet hack?
And yes, we told you, this pattern is a bit of a favorite in the showroom. Each fabric inspires a new detail, a small modification that can give it a different style and create a dress unlike any already in our wardrobes.
Today, it's Apéritivo, our viscose from the summer collection, that inspired us to create a vintage and romantic Comète dress. Add a few centimeters, a button placket along the skirt, and you have the perfect dress for picnics on beautiful summer evenings.

How to modify the pattern?

Lengthen the skirt:
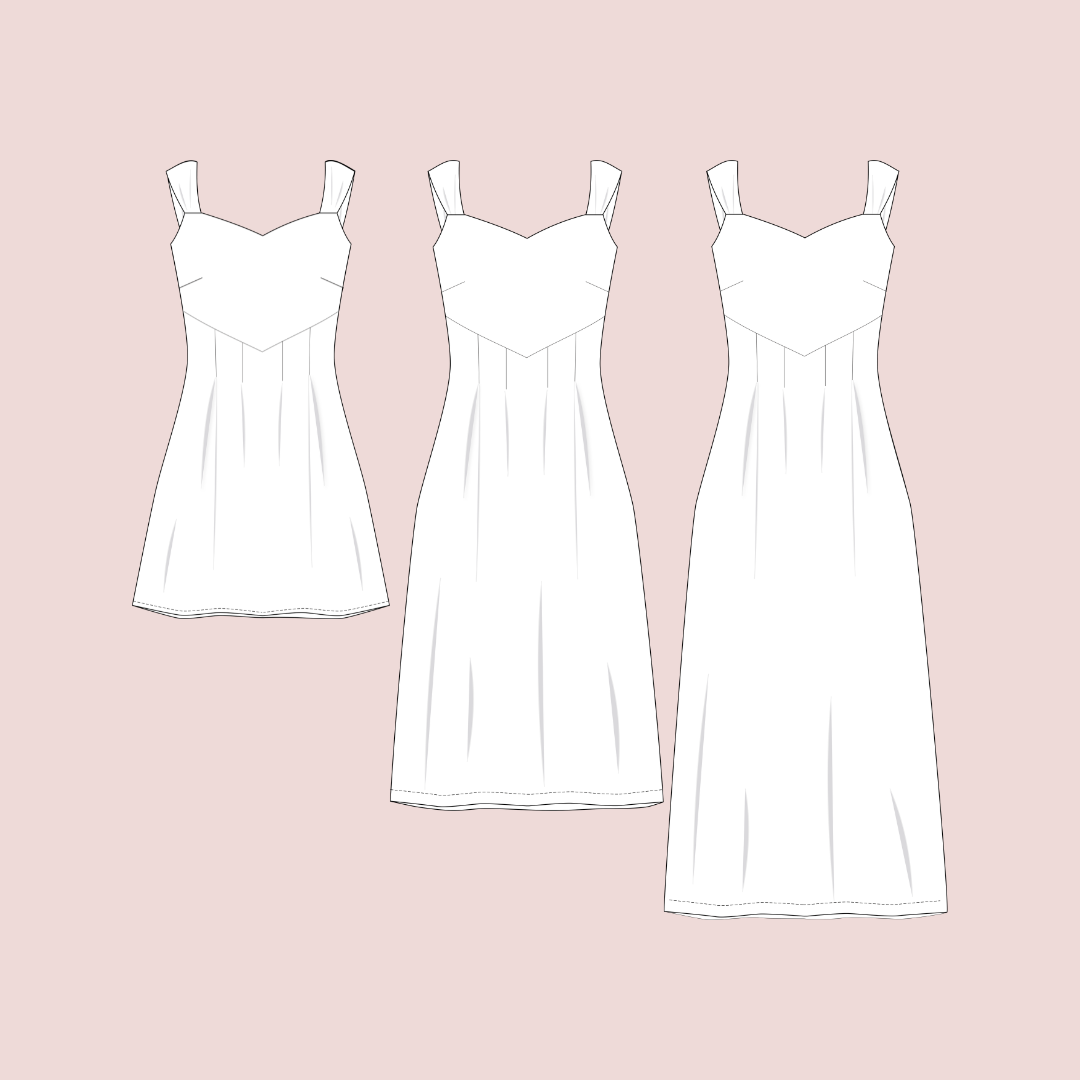
- First of all, you will need to lengthen the skirt to the desired length.
Based on her model, Lise lengthened the skirt by 20cm.
To lengthen the skirt, nothing could be simpler:
- On the front skirt piece, cut the pattern on the "shorten / lengthen" line.
- Draw a line on pattern paper that will allow you to align the straight grain of the two pieces of the front skirt.
- Separate the pieces by as many centimeters as you want to lengthen the skirt (in our case: 20cm), making sure to always align the straight grain (in blue on the diagram).
- Next, redraw the lines of the side seam and the center front seam (in reverse on the diagram).
Repeat these steps on the back piece.
Create the button placket:
Now that your skirt is the length you want, we can create a button placket.
For consistency with the bodice, the button placket will be different. We will create a piece that you will assemble in the same way as the bodice facing.

The modifications will only be made to the front skirt piece:
At the center front, add the seam allowance of 1cm + the overlap allowance of 1cm over the entire height of the piece (in green on the diagram), so 2cm in total.

On the same piece, then trace the outline of the button placket. This measures 7cm in total, including seam allowances (shown in green on the diagram).
Next, trace this piece onto pattern paper so you can cut it out of the fabric.
How to sew it:
Cut your pieces following the cutting information in the tutorial except for the front skirt: the piece is not to be cut on the fold, but twice in the fabric.
Also cut the button placket twice from the fabric, and twice from the fusible interfacing.
Make the bodice following the assembly information in the tutorial and assemble the front skirt and back skirt with the side seams.
Sew the button placket:
- Iron on the two button tabs.
- Overlock the outer edge of both button tabs.
- Assemble the button placket with the center front, right sides together, and sew 1cm from the edge.
- Make an understitch 2mm from the edge, on the button placket side, along the entire length of the skirt.
- Give the button placket a quick press with an iron to flip it to the wrong side of the front.
- Make a securing stitch at the waist and hem.
- Repeat these steps for the second one in front
- On the right front (as worn), embroider the buttonholes 1cm from the edge. Maintain the spacing between the buttonholes on the bodice and embroider the first buttonhole 3cm from the waist edge.
- Overlap the two front pieces by 1cm (like the bust), and make a stay stitch at the waist, positioning the front skirt with the buttonholes on the front skirt without the buttonholes.
Now follow the tutorial instructions to assemble the bodice with the skirt and complete the finishing touches.
What if I want to line the skirt?
Don't panic, lining a garment isn't that complicated.
At Lise Tailor, we are committed to making sewing accessible and offering various techniques throughout our designs to help you improve. The following instructions apply to all button-front skirts that you wish to line.

The button placket:
Refer back to the instructions above to trace the button placket.
Add the 1cm seam allowance to assemble the button placket with the lining (in orange on the diagram).
The front lining:
The front lining corresponds to the front skirt piece, minus the width of the button placket. To create the lining, we will use the lengthened front skirt piece.
Draw a parallel line in the middle in front, 5cm from the edge (in orange on the diagram).
Next, add the 1cm seam allowance to be able to assemble the lining with the button placket you have just drawn (in fuchsia on the diagram).

To prevent the lining from showing through your skirt, reduce the length by 1.5cm.
Back lining: The pattern for the back lining corresponds to the back skirt piece. Remember to also reduce its length by 1.5cm.
How to sew it:

Start by assembling the front skirt lining with the back skirt lining.
- Hem the lining skirt.
- Iron on the two button tabs.
- Attach the lining skirt to the button placket, 1 cm from the edge. Remember, the lining skirt is 1.5 cm shorter. Overlock the seam and press to fold the seam allowance towards the button placket.
Follow the instructions above (from step 3 to step 8) to assemble the lining skirt with the skirt.
And there you have it, you are now a true professional in transforming a simple skirt into a button-up skirt!
I hope you enjoyed this tutorial and that it inspires you to hack our Comet dress.
If you too have boundless creativity and this pattern inspires you, don't hesitate to share it on social media with the hashtags #lisetailor #robecomete #hackcomete
See you soon and happy sewing!


Read more

COMET, THE BOSS WITH MULTIPLE POSSIBILITIES During our autumn/winter collection, we presented our lovely Comète pattern. This pattern, available as a dress or blouse with various sleeve an...

This autumn, our favorite item is without a doubt our stylish shirt. If, like us, you loved its pretty gathers and rounded neckline, you'll adore its smocked version. Today, we're sharin...