
 Français
I knit
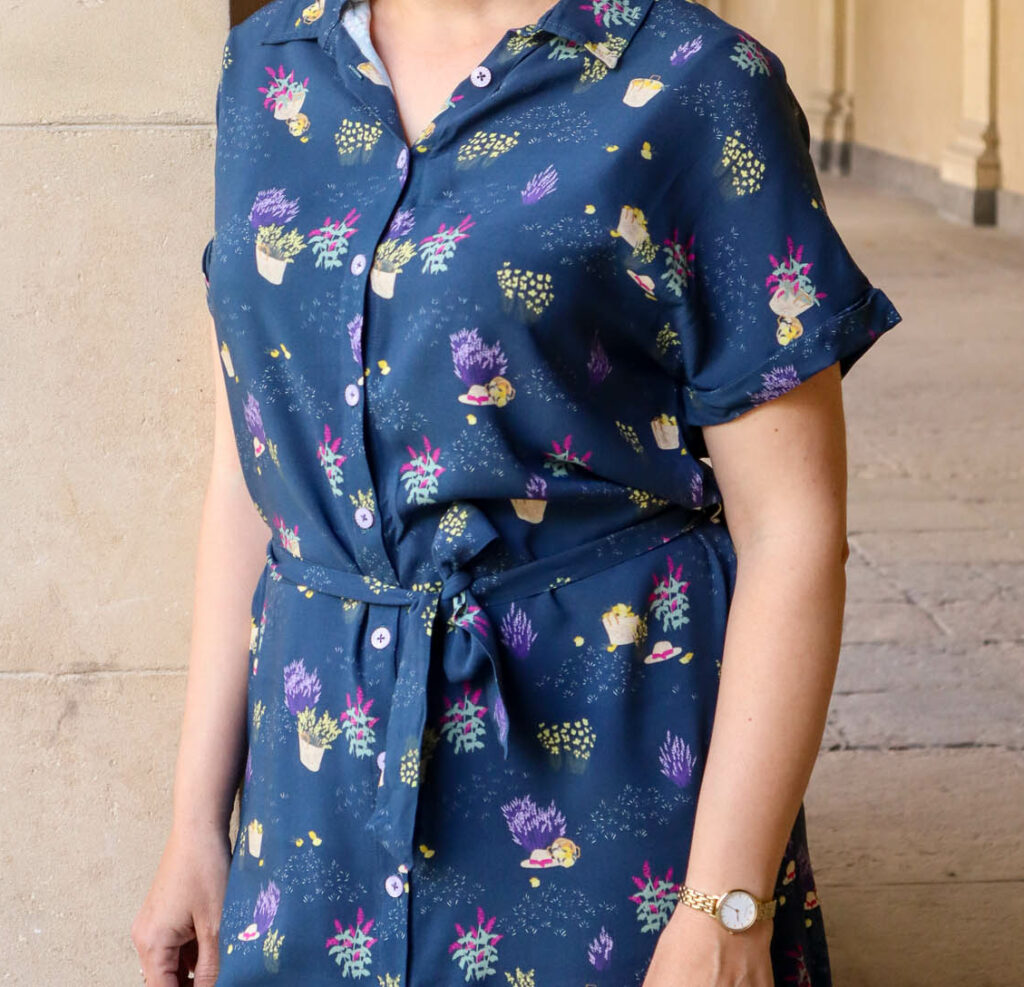
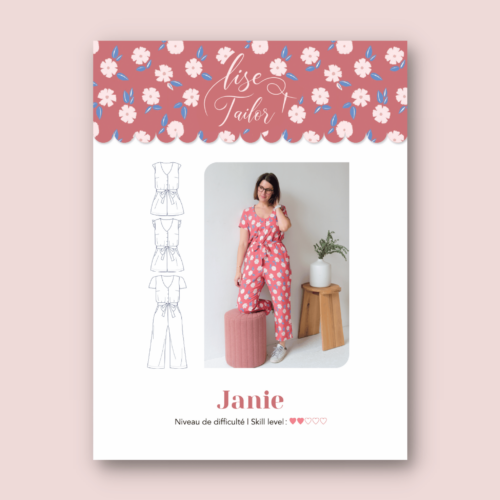
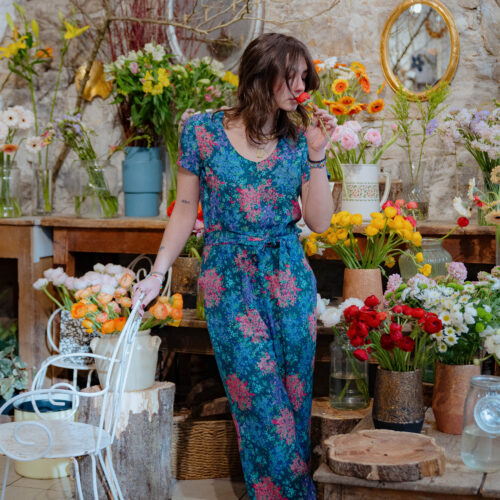
Extend the shirt from the book Escapade au Soleil

You liked the shirt from the book Escapade au soleil a lot, and today we offer you a shirt dress version. To help you too to make it happen, here is a step by step of our modifications.
Follow the guide!
WHAT CHANGES?
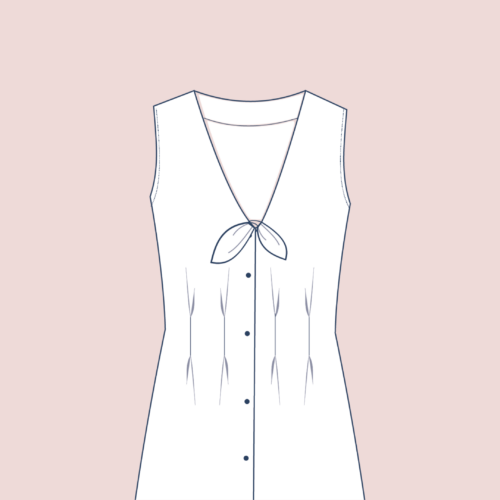
On this version of the shirt from the book Escapade au Soleil, we will simply lengthen the front and back patterns to obtain a dress pattern. We will also create slots on the sides and make a belt and loops.
THE NECESSARY EQUIPMENT

THE tuto
To make these modifications, you will need the patronage of the front and back.
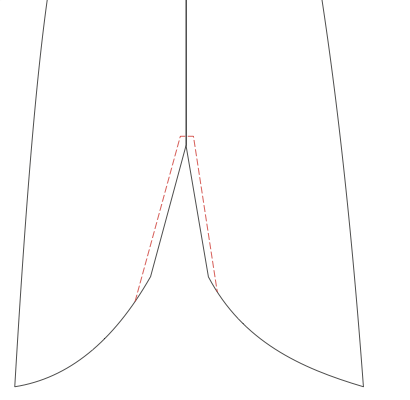
1 – Start by cutting your patterns at the “Allonger / raccourcir” line.
2 – Define how many centimeters you want to lengthen your room. Our models are intended for a stature of 1m65. Lengthen your shirt patronage by following the explanations in the book Escapade au Soleil pages 28-29 of the desired length (we have chosen to lengthen our shirt by 35cm).
4- Cut and sewn the dress by following the tutorial in the book Escapade au Soleil until step 4. Assemble the shoulders normally.
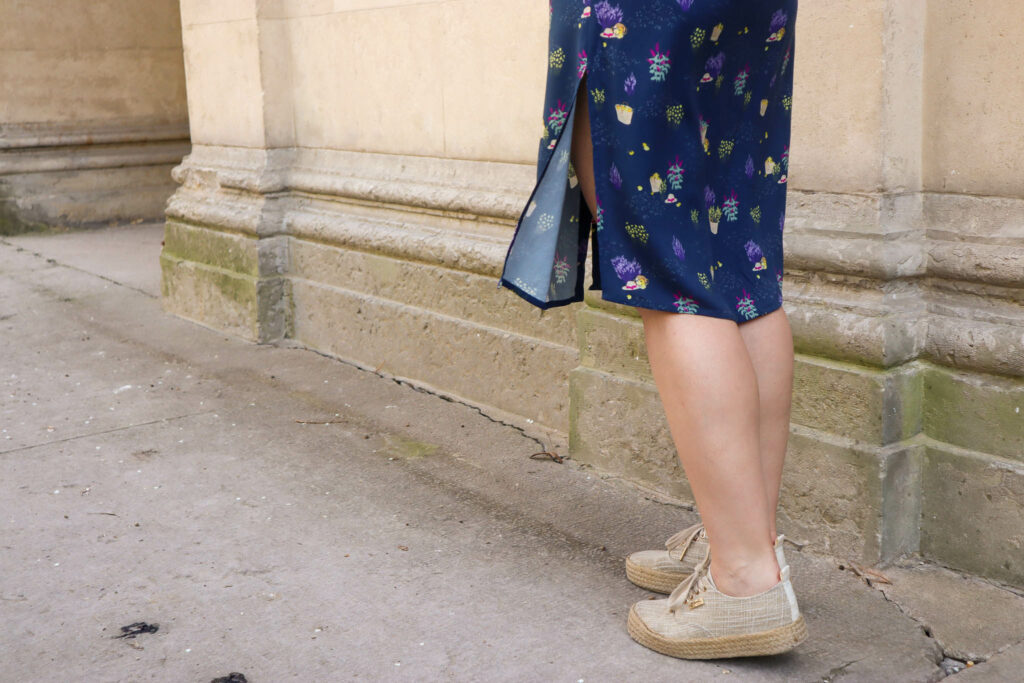
5 – Mark 30cm from the bottom of the dress on each side seam.
6 – Assemble the seams on the side arresting your seam at the mark of the bottom of the dress.
7 – Open the seam values of the sides to the iron. On the non-assembled parts, make a fold of 1cm in the continuity of the opening of the sewing values in order to create the slit.
8 – On the non-assembled parts, make stitching 5mm from the edges to keep the seam values in place, and thus finish the slit nicely.
9 – Finish the assembly by following the book tutorial
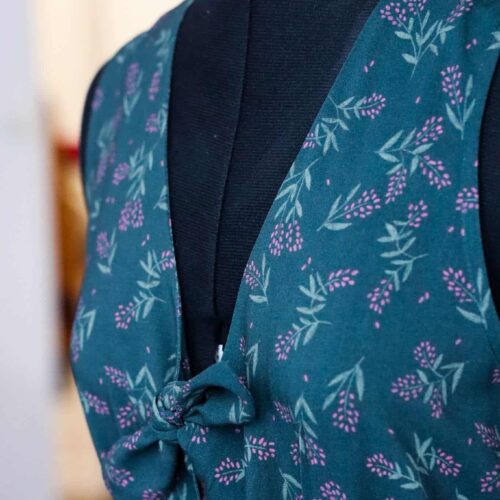
REALIZE THE loops AND THE BELT
SHOPPING LIST


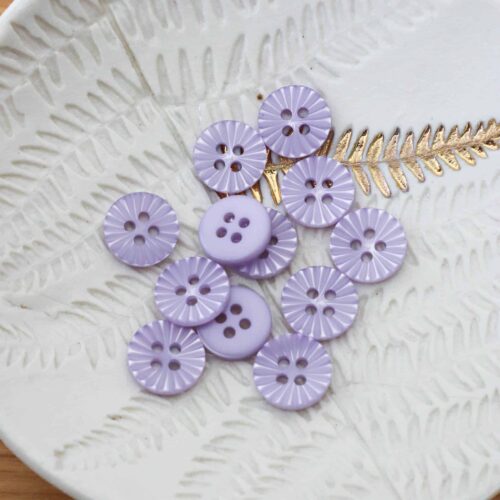
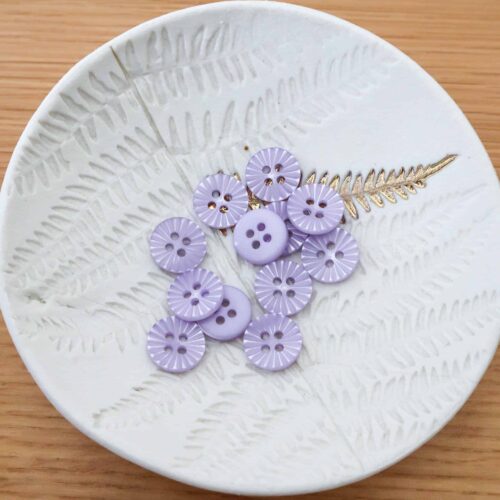
Daisy button
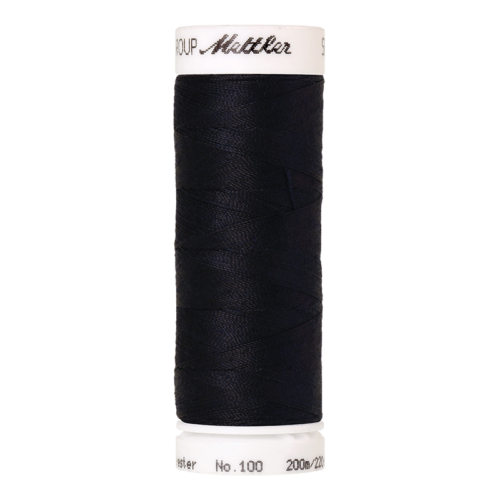
Threads
Clothing

Clothing