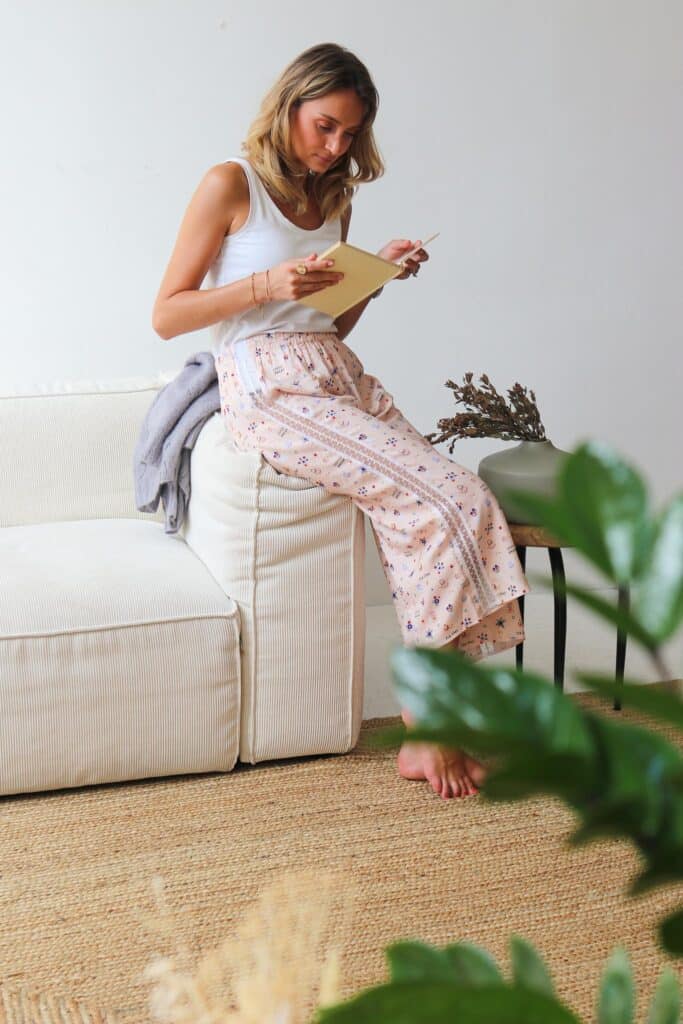
Sewing Pattern Lise Tailor
Hack trousers – I love You
Transform the I Love You shorty
in 7/8 pants
I love you all the year!
Fall is well established and the season of cocooning evenings is in full swing. To accompany you during your moments of sweetness, nothing like a pretty pajamas to put on after a good hot bath.
Our very first pattern I love You is available today in a 7/8th version with this hack to lengthen the shorts very easily.
And if like us, you like pretty details, we show you how to add an openwork lace band on the sides.
The material to make the 7/8th pants:
- Sewing pattern I Love you
- 2m Tea Time viscose
- Approximately 4m exclusive trim I love you (or 2m if it is sewn in single width unlike the photos)
- 1m Elastic belt 35mm
Transform the pattern for a 7/8th pants version without trim
- Change of patronage
The modifications for the front and the back are identical.
a) Lengthen the side seam until it measures 95 cm in total (this measurement is given as an indication for a 7/8th length on a stature of 1m60)
b) Measure the width of the bottom of the thigh in the shorts version. This measurement will be the width of the bottom of the pants. Draw a line perpendicular to the side seam of Xcm (X=width of the bottom of the thigh in the shorts version).
c) Draw a line perpendicular to the bottom of the pants to join the crotch, then join the point of the crotch with a gentle curve.
Repeat these operations on both pieces, making sure that the seams that will come together (sides and crotch) are of equal length.

- Sewing
To make the 7/8th pants, you can follow the instructions in the booklet. The only modification concerns the seam values of the hem: make a first fold of 1cm then a second of 2cm (unless you want to add lace at the bottom of the legs as on the shorts version).
Transform the pattern to add trim (short or 7/8 version)
- Change of patronage
In this example, the width of the trim is 2 cm wide. To have a wider trim, we overlapped the foot of the trim and made a seam to hold the two together. Our lace is now 4cm wide with scallops on both sides.
If your trim does not measure 4 cm, then you will have to adapt these explanations according to the width of your lace. The width of your lace is measured at the hollow of the scallops.
The modifications for the front and the back are identical.
- Draw a parallel to the side seam of the width of your trim divided by 2. Here our trim is 4cm wide. We will therefore draw a parallel 2cm from the edge of the side seam on the front and on the back.
- Then add the sewing values: The festoons of the lace will be plated on the front and on the back, I can make an overlock for simple finishing. My overlock is 7mm, so I add a seam allowance of 7mm.
- Sew the trim on the pants
Follow operations n°1 and n°2 of the tutorial.
In step 3 (join the side seams), pin one side of the trim to the front. Align the hollow of the scallop with the edge of the overlock. Sew a seam in the middle of the overlock with a straight stitch all the way up the leg. Perform the same operations for the second front.
Assemble the front and back right sides together, pinning the free lace side to the back. Align the hollow of the scallop with the edge of the overlock and sew a seam in the middle of the overlock.
Repeat the same operations for the second side.
You can follow the tutorial to complete your 7/8 shorts/pants.

 Français


